To have a long lasting and beautiful outdoor area, it is essential to create a smooth and even surface to hold your paving stones. When installing paving sand on a driveway, patio or walkway, correct leveling of the paving sand will help you achieve a flat paving stone and a stable paving stone over time. This guide will take you through the process step-by-step, in simple language and easy to follow instructions.
Learning the Value of Leveling Paving Sand
The leveled sand base will avoid uneven surfaces which can cause tripping and uneven wear of your paving stones. It also makes sure that water drains well to prevent the possibility of damage caused by pooling water. You will save time and money in the long run by not having to repair the paving sand later by taking the time to do it right the first time.
Materials and Tools Required
To begin with, prepare all the materials and tools. This will make the process more efficient and easier because everything will be available.
Materials
- Paving sand
- Optional (but recommended): Geotextile fabric
- Crushed stone or gravel
- Edging (plastic, metal or wooden borders)
Tools
- Shovel
- Wheelbarrow
- Tape measure
- String lines
- Level
- Rake
- Tamper (manual/plate compactor)
- Broom
How to Level Paving Sand Step-by-Step
Step 1: Preparing the Area
Begin by excavating the site where you will place your paving stones. Clear away grass, weeds or debris. Dig the soil up with a shovel to a depth of approximately 6 to 8 inches, depending on the thickness of your paving stones and local soil type.
Step 2 (Optional): Apply Geotextile Fabric
In case you are working on a soft soil area, you can put a geotextile fabric over the excavated area. This material assists in keeping weeds out of the paving and provides stability to the ground. Measure the fabric and cut to size and then place the fabric flat on the area and overlap the edges by a few inches.
Step 3: Add and Level the Base Layer
Cover the area with 4-6 inches of gravel or crushed stone. Spread the material evenly using a shovel and wheelbarrow. After spreading, rake the gravel to make it even and flat. Measure the level using a long level or a string line across the field. Add or remove gravel to adjust.
Step 4: Compacting the Base Layer
A stable base is essential in the process of compaction. Compact the gravel layer with a manual tamper or plate compactor. Step back and forth over the area, exerting even pressure so that the gravel is packed tightly. This will avoid movement of the base with time.
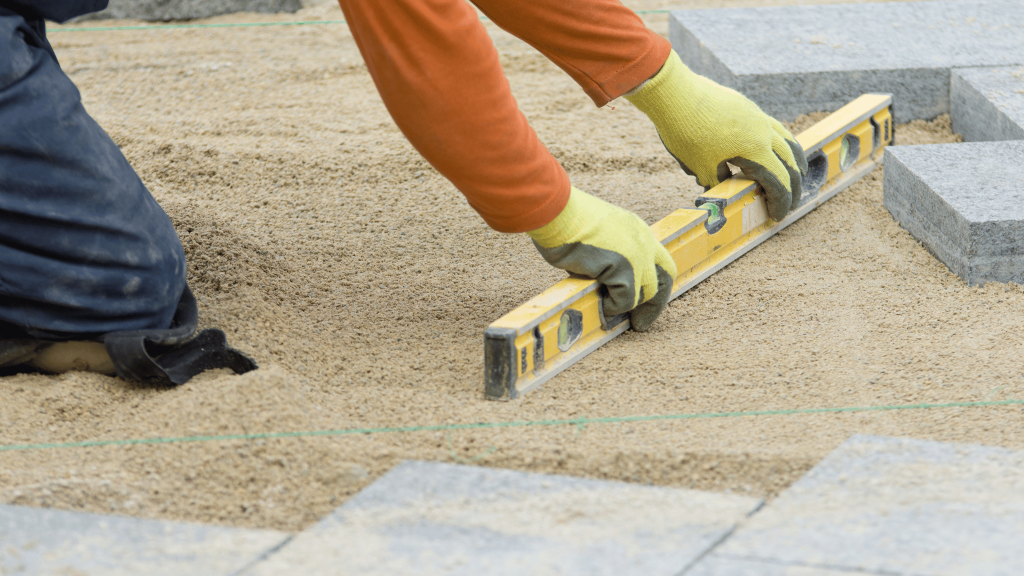
Step 5: Laying the Paving Sand Layer
After compacting the base layer, apply a 1-inch layer of paving sand over the surface. Scatter the sand with a rake and smooth it with a straight edge or long level. The idea is to have a smooth and flat surface on which your paving stones are laid.
Step 6: Compact Sand Layer
Once the sand is leveled, compact it with a manual tamper or a plate compactor. This is done to make the sand compact and offer a firm base to your paving stones. Step across the whole area by exerting a uniform pressure to prevent forming low areas.
Step 7: Level Check and Adjust
Verify the sand layer level again with long level or string lines. Add or remove sand and re-compact, as necessary. Before moving to the next step, it is essential to make sure that the surface is as level as possible.
Step 8: Lay Edging Materials
The edging materials are installed to hold the sand and paving stones. You can use plastic, metal or wooden borders and set them up around the edges of your project. Fix the edging into the ground securely so that it does not move.
Step 9: Top Sand Coat and Preparation
Place a thin top layer of sand (1/4 inch) on the leveled base. With a broom, sweep the sand over the surface so that it fills any spaces between the edging materials. This last coating assists in securing the paving stones after they are fixed.
Success Tips
Small Sections: When working on a large area, divide it into small sections so that each section is leveled and compacted well.
Check Your Tools: Make sure that your level and string lines are accurate and in good shape to get the best results.
Be Consistent: Compact with even pressure to prevent uneven areas.
Weather Conditions: Do not work in wet conditions which might influence the stability of your base layers.
Paving sand is an important component of building a long-lasting and appealing paved surface. Using these easy steps and by taking the time to make sure each layer is well prepared and compacted, you will end up with a professional looking result that will last the test of time. Keep in mind that a small investment in planning can spare you the headaches and expensive repairs later. Happy paving!