
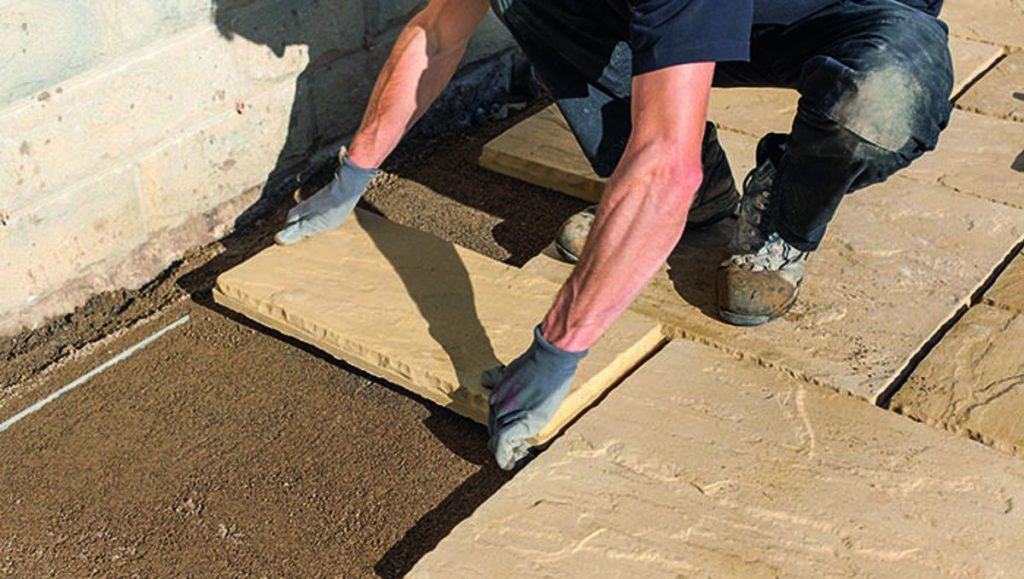
Patio paving may totally transform your outdoors, providing you with a long term and pleasing environment to relax in, entertain in and appreciate your garden. This guide will walk a DIY enthusiast or a novice through the process of laying patio paving step-by-step manner.
Planning Your Patio
Plan right before starting so that your patio is not only functional but also beautiful.
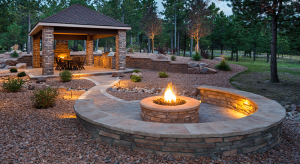
Choosing the Right Location
Select a level area in your garden that is well sunned and well view from. Remember your closeness to your home and other already standing structures like sheds or garden beds.
Designing Your Patio
Figure out the size and shape of your patio. Use garden hoses or string lines to draw your design on the ground. Draw your plan on paper indicating the dimensions and any such features like steps or curves.
Selecting Paving Materials
Choose the paving materials that suit your taste and pocket.
Options include:
Concrete Pavers: Durable, multi-functional, available in different shapes and colors.
Natural Stone: Offers a traditional style in the form of slate, limestone or granite.
Brick: Affordable and easy to use, very many patterns.
Gravel or Mulch: Great for natural, rustic look.
Consider the climate, maintenance and how the materials will match with the exterior of your home.
Preparing the Site
Marking the Area
Using stakes and string, mark out your patio. Double-check measurements to ensure accuracy.
Excavating the Ground
Remove all the grass, roots, or debris within the marked area. Excavate the soil to a level of about 8-10 inches so as to accommodate sub-base, sand and paving.
Leveling the Ground
Test the ground level using spirit level and a long plank. Add or remove soil to level up the surface.
Adding Edging
Place edging materials like metal, plastic, or timber to delineate the boundary of the patio and avoid paving from moving. Pound the edging into the ground to ensure that it is deep into the ground.
Laying the Sub-Base
Adding Crushed Stone
Filling up the dug-out area with crushed stone or gravel and compacting them in layers. Shoot for a depth of between 4-6 inches to give a good base.
Compacting the Base
Compress the crushed stone with the help of a plate compactor to make it uniform. This step is significant in ensuring that there is no future settling or shifting.
Adding Sharp Sand
Spread a 1-inch thickness of sharp sand over the base that has been compacted. Use a rake to make the sand level, so that the paving will be level.
Laying the Paving Stones
Starting from the Corner
Begin at a corner or an edge, laying down the first row of pavers. Level (using a spirit level) and adjust as is necessary.

Spacing the Pavers
Leave 1/4-inch space in between the pavers for sand. Use spacers if necessary to maintain the spacing.
Cutting Pavers
For edges or curves, masonry saw or chisel can be used to cut the pavers to the desired sizes. Measure accurately so that it can fit snuggly.
Completing the Patio
Continue to lay pavers in rows, while checking for level and alignment frequently. Adjust the same to ensure that the surface remains flat.
Finishing Touches
Once the pavers are all set, complete the patio by doing the following:
Filling the Joints
Sprinkle dry polymeric sand over the patio, into the gaps between pavers. Sweep the sand into the joints using a broom.
Compacting the Sand
Spray the patio with a little amount of water to let the sand settle in the joints. Use a plate compactor to compact the sand further in order to bind the pavers together.
Sealing the Pavers
To give an additional layer of protection, apply paver sealer. This serves to prevent stains, weeds, and weathering. Use following the manufacturer’s instructions.
Adding Finishing Edges
Place finishing edging materials such as stone or metal around the perimeter of the patio. This provides a finished look and more stability.
Maintenance Tips
Use these maintenance tips to keep your patio in a good condition:
– Regular Cleaning: Sweep or hose down the patio frequently to clean out debris.
– Weed Control: Inspect joints for weeds and get rid of them promptly.
– Sealing: Re-apply sealer after several years in order to maintain protection.
– Inspecting: Check for loose pavers, or damage and repair them on time.
Patio paving is a great project that improves the value of your outdoor area. Assuming that you plan, prepare and pay attention to detail, you will be able to construct a beautiful and long-lasting patio which will bring enjoyment for years. No matter whether you opt for concrete pavers, natural stone or brick, the most important thing here is to ensure that the foundation is strong and the installation is accurate.